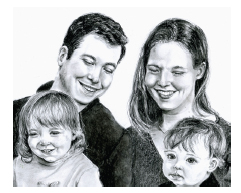
How To Draw Hair
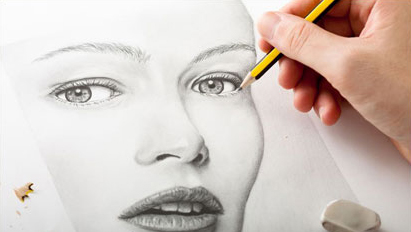
Today we'll show you how to draw hair.
The
difficulty in drawing hair is learning how to depict it as soft and
movable while not spending hours trying to draw individual hairs.
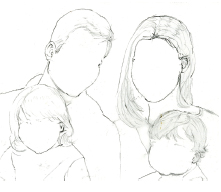
Think
of hair as having three definite tones; highlights, shadows, and
lowlights, and begin by drawing the shape of the skull and deciding on
the general shape of the hair.
Block in the darks, or, shadow areas of the hair, working around the
highlights. It may be useful to squint at your reference if you're using
one, as this will help you to see the shape of the shadow and
highlight.
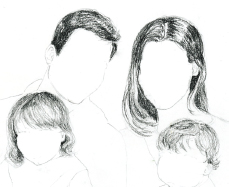
Build up the hair with a series of directional strokes that follow the growth pattern of the hair. Keep the hairline broken at the part and the forehead, and be sure that your hair follows the shape of the head.
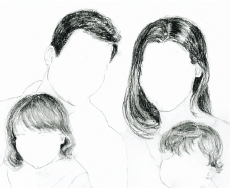
Break
across the shadow areas with a few highlighted hairs that you pick out
with the kneaded or electric eraser, and draw a few fly away hairs
around the outside of the hair to keep it from looking too smooth. Touch
up the darks again as needed, and the hair is complete.
 Want To Learn More ...
Drawing Made Easy is a simple course which shows you step-by-step how to draw ...
- people
- hands
- eyes
- faces
... and a whole lot more from beginning to end, and a goldmine of sample illustrations for further ideas.
With clear (and fun) instructions on how to draw ... you'll learn at your own pace in the comfort of your home.
Warm Regards

Chris Elmore
Drawing Made Easy
Chris Elmore
Drawing Made Easy
How To Draw Arms
Today we'll show you how to draw arms.
When drawing arms, it is very helpful to be familiar with the bone and muscle structure.
When one understands that the forearm is made up of the ulna and radius, for instance...
...
it is easy to remember that the arm tapers from the shoulder to the
elbow, then flares out again to accommodate those two bones before
tapering down to the wrist.
Study the anatomy of the arm carefully, and drawing will be greatly simplified.
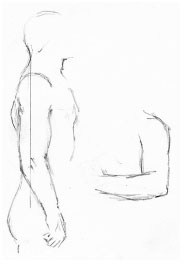
Begin
by sketching the shape of the arm. Keep in mind that even at its
relaxed state, the arm does not hang straight down, but bends slightly
at the elbow.
Also
note that if the arm is hanging at the side, there should be a straight
line from the back of the neck through the center of the arm until the
arm bends at the elbow.
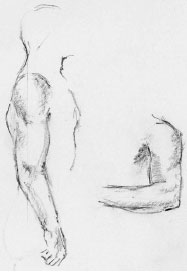
Draw
lines that indicate the deltoid muscle in the shoulder and other
muscles that may be visible, as well as a mark where the elbow, wrist,
and hand will be.
Build
up the appearance of muscles on the arm by shading and picking out
highlights. On the upper arm, you may see deltoids, biceps, and triceps
indentations.
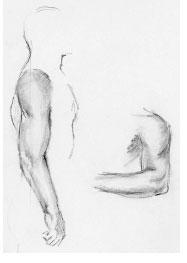
On the lower arm, you will see a furrow beneath the ulna bone, especially if the arm is bent.
You
may need to reshape the arm if your sketchy strokes were too straight;
contrary to appearances, the arm is almost never straight, but a series
of slight in and out curves.
Blend the shaded tones following the curve of the arm and pick out highlights on the tops of the muscles with a kneaded eraser.
You may need to add the darks again if they were lightened in the blending process.
 Want To Learn More ...
Drawing Made Easy is a simple course which shows you step-by-step how to draw ...
- people
- hands
- eyes
- faces
... and a whole lot more from beginning to end, and a goldmine of sample illustrations for further ideas.
With clear (and fun) instructions on how to draw ... you'll learn at your own pace in the comfort of your home.
Warm Regards
Chris Elmore
Drawing Made Easy
Chris Elmore
Drawing Made Easy


No comments:
Post a Comment