How To Draw A Flat Hand
If you're interested in learning how to draw a pair of hands, then you must watch the video we've just uploaded at ...
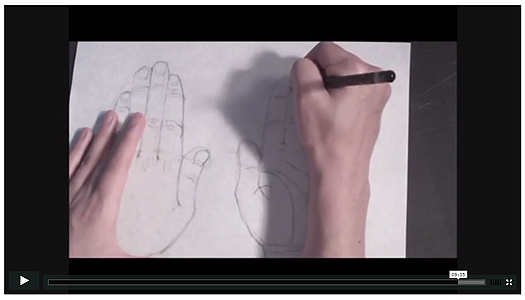
Trace your hand on the paper palm down, fingers together.
If
you draw the simplest shape possible that encompasses everything from
wrist to fingertip (leaving out the bulge of the thumb), you see a long
oval.Include the thumb, and the oval becomes a lopsided egg, or an iron shape.
Remember these shapes. Here, you traced your hand and then developed the shape, but only so you could see for yourself the most basic shape of the hand in his position.
When you draw hands in the future, you will begin with the basic shape and then fill in the interior shapes of the fingers within it.
Go back to your hand and examine where on the oval the different levels of knuckles and joints fall. What you see is that the halfway point between wrist and fingertip lines up with the point where the thumb begins to arch away from the fingers.
Vertically, divide the oval in half and you see the line between the ring finger and middle finger. If you divide the egg-shape that includes the thumb in half vertically, you have an approximate guideline for the division between the index and middle finger.
Use the angle of the line that attaches the thumb to the oval to judge the angle of division between the other fingers.
They should be parallel to the thumb. To place the guideline for the knuckles, draw an arc beginning at the horizontal center line and moving up to the highest point at the middle finger, then sloping down more drastically at the pinky side.
Draw a second arc about a third of the length up from that to serve as a guideline for the next joint, and repeat again for the last joint.
Chris Elmore
Drawing Made Easy


No comments:
Post a Comment